Support

iSuni 2500-WD quick guide

Twelve short steps, from the box to the lab. The full instructions for use come in the box: read them before you scan a patient.

Set it up

Once, on the computer that runs the scanner.

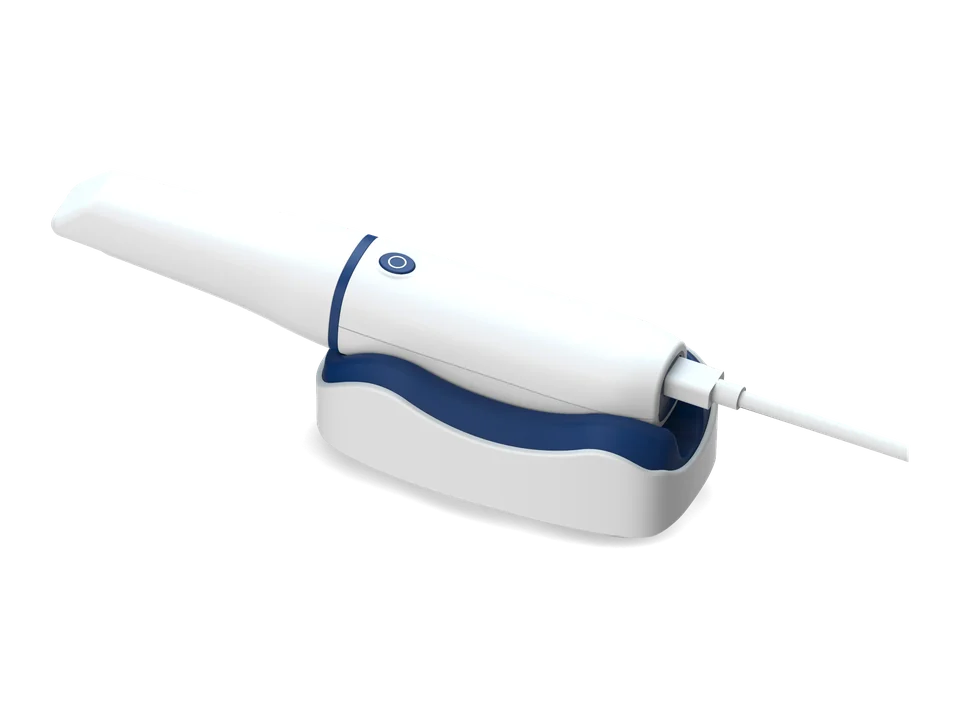
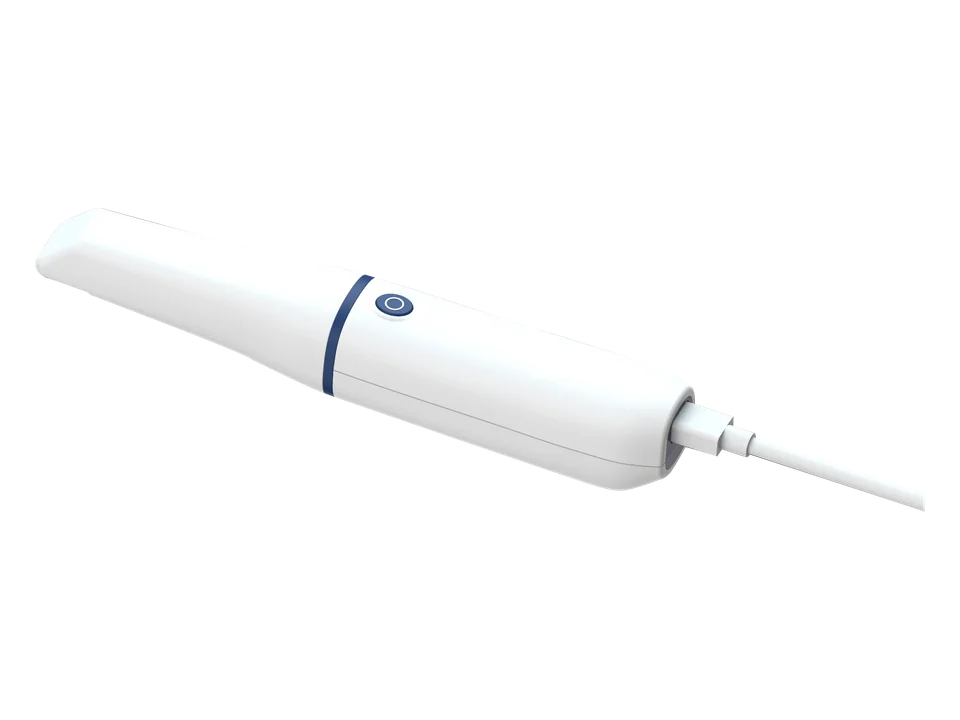
  1. The iSuni 2500-WD resting in its desktop cradle, with its cable plugged in.

    Step 1

    What’s in the box

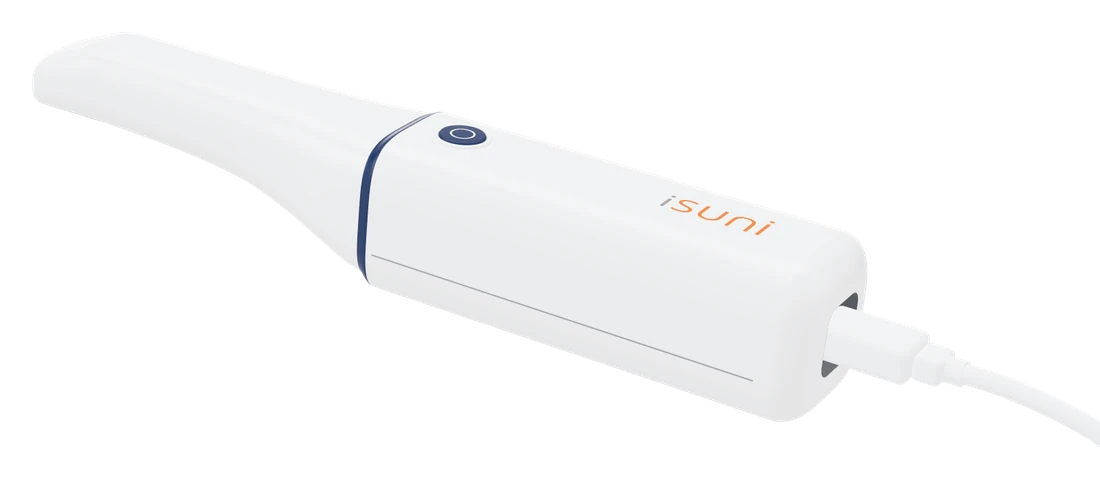
    The 2500-WD handpiece, three standard tips and one small tip, a desktop cradle, a 2 m USB-C cable, and its instructions for use and certificate.

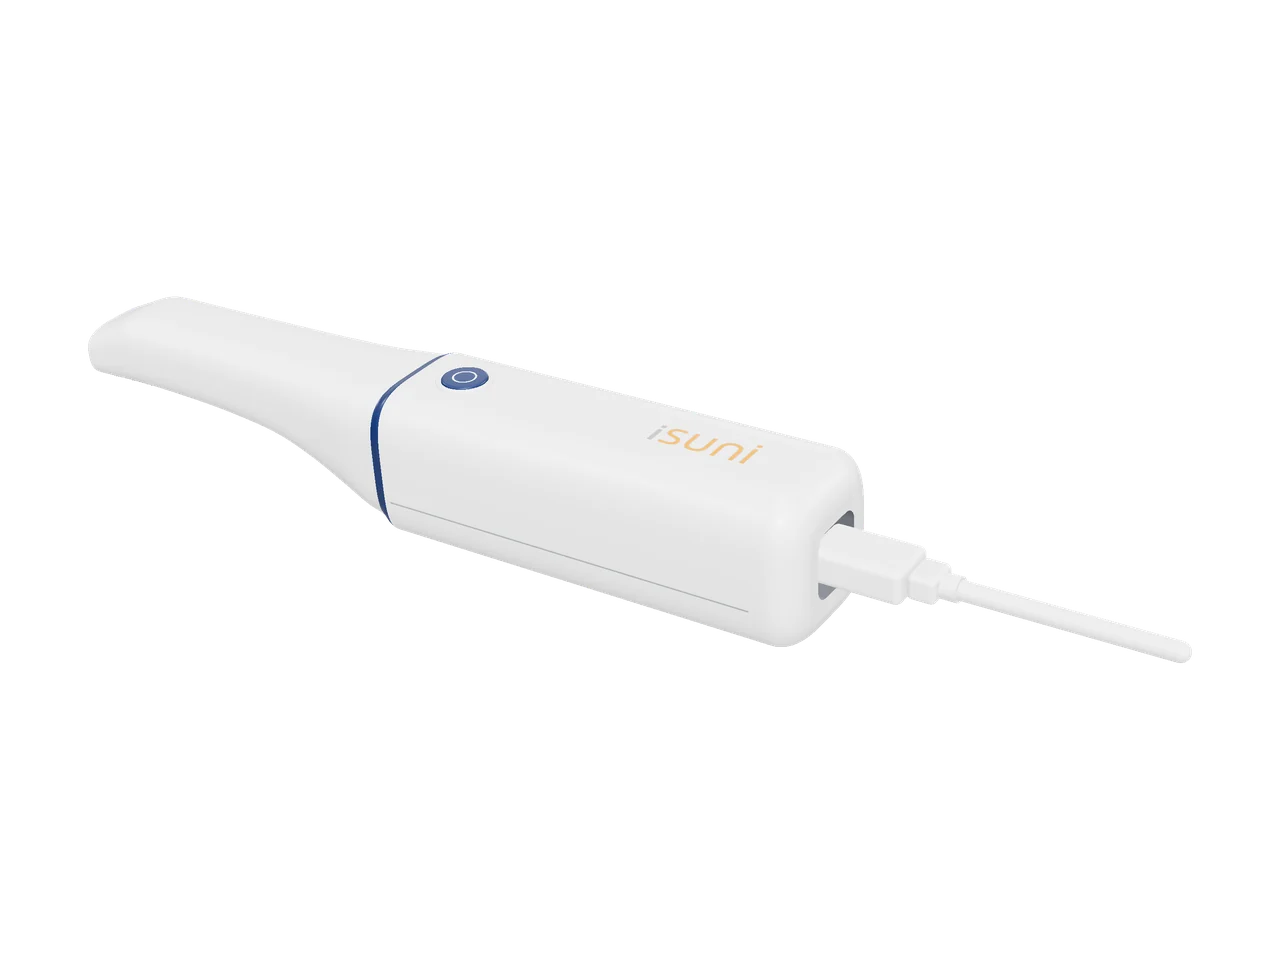
  2. The iSuni 2500-WD with its USB-C cable.

    Step 2

    Your computer

    The scanner plugs into a USB-C port on the computer, USB 3.0 or faster, which also powers it. The computer needs Windows 10 or 11, an NVIDIA RTX 4060 or better, at least 32 GB of memory and a 1920 × 1080 screen.

    Is my PC ready?
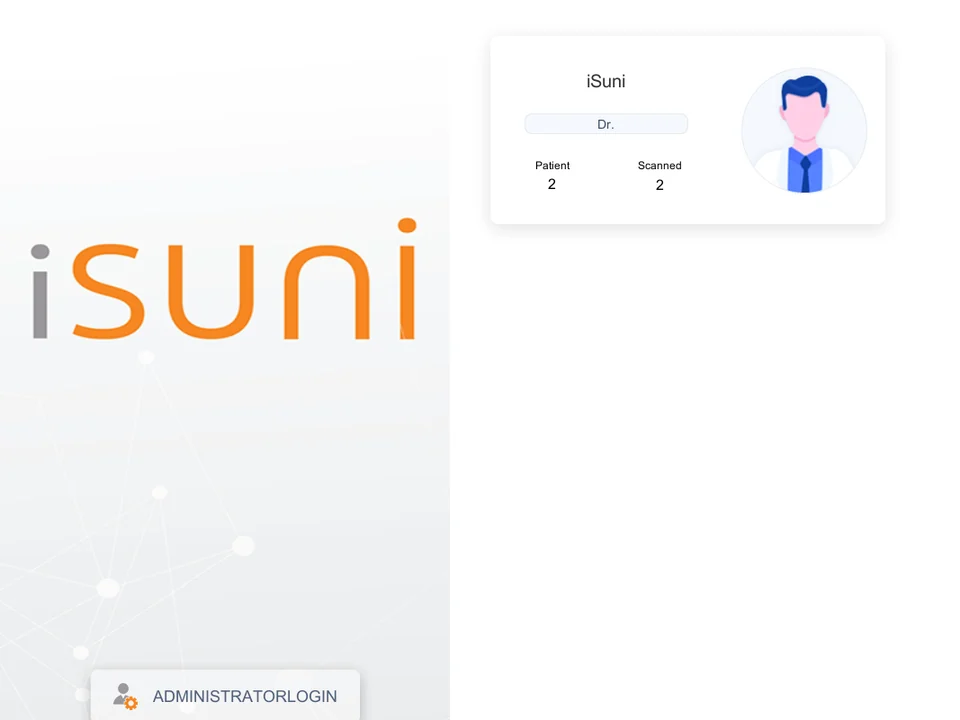
  3. The iSuni scanning software’s first screen: the iSuni logo, a dentist card and the Administrator login button.

    Step 3

    Install the software

    Copy the installer to the computer and unzip it there first: installing from inside the zip fails.

    • Run the setup, choose your language and keep the default options.
    • If Windows or your antivirus asks about the iSuni setup, allow it. Never turn your antivirus off.
    • When it’s done, the scanning software has an icon on the desktop.
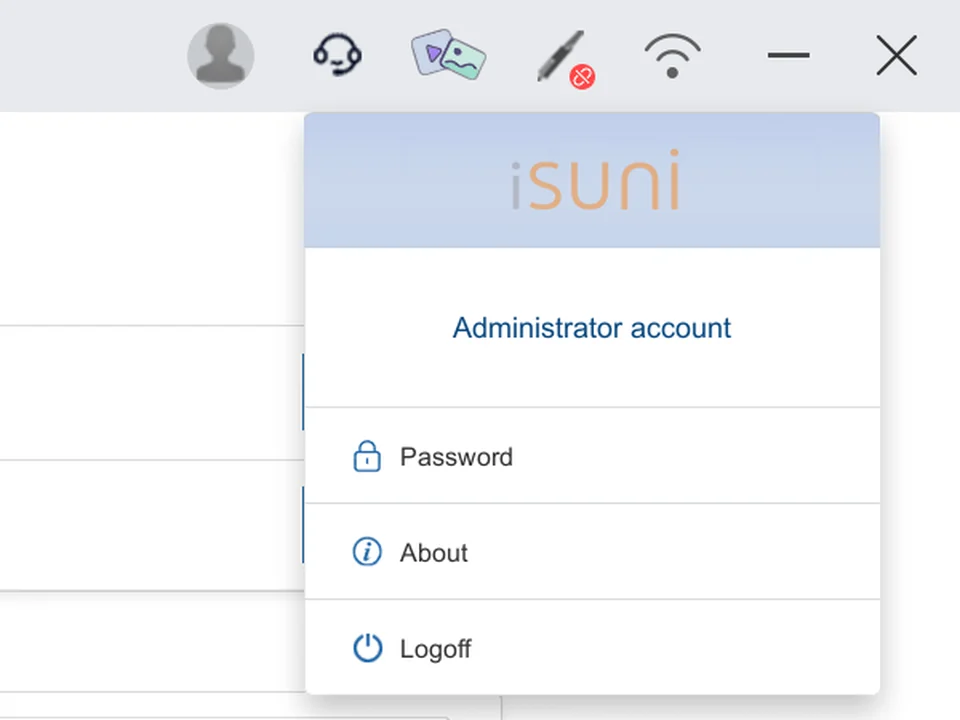
  4. The scanning software’s administrator menu, open at the top right: Administrator account, Password, About and Log off.

    Step 4

    Set it up first

    Sign in as administrator with the default password from the instructions for use, and change it straight away (the menu at the top right, then Password).

    • Replace the preset clinic details with your clinic’s own name, address and phone.
    • Add each dentist, and the labs you send cases to.
    • Choose the language and the tooth numbering.

Every scan

From a clean tip to a finished model.

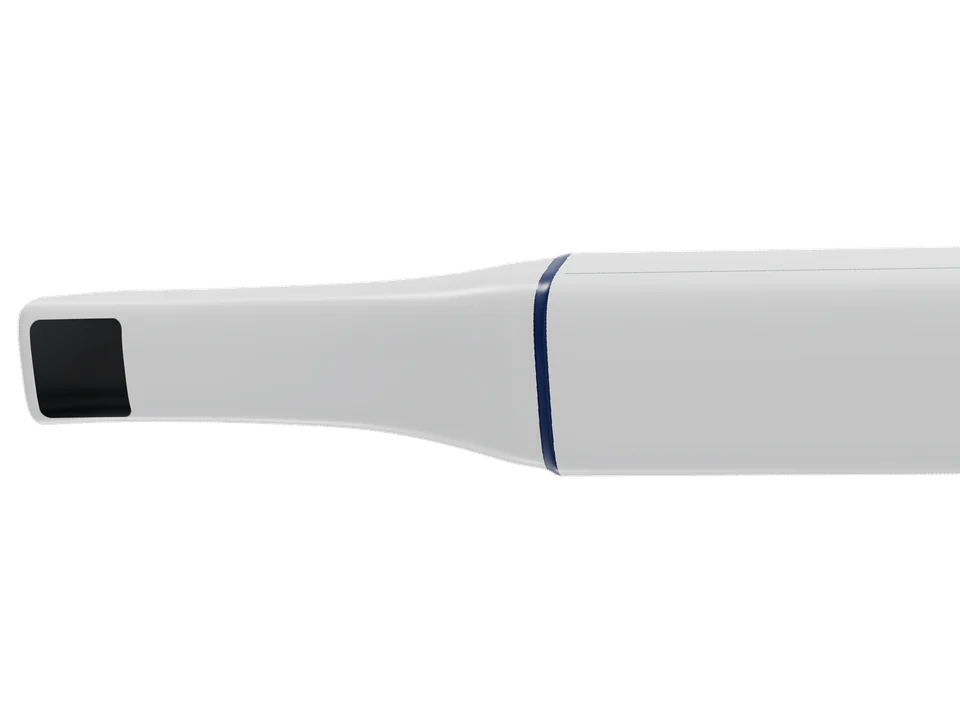
  1. The tip of the iSuni 2500-WD with its dark scan window.

    Step 5

    Before each scan

    Put on a clean, disinfected tip and check its mirror: no stains, no cracks (a cracked tip comes out of use). Warm the scanner up for 5 to 10 minutes for a smoother scan.

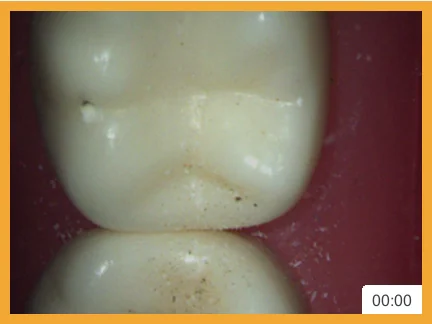
  2. The live view with a yellow border.

    Yellow: hold steady. After 2 seconds it starts by itself.

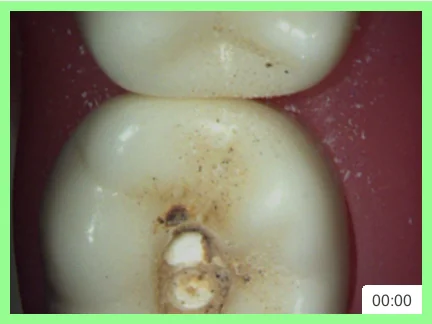
    The live view with a green border.

    Green: scanning.

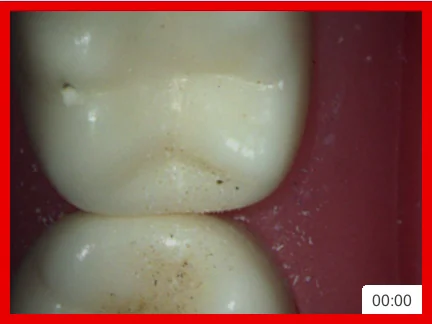
    The live view with a red border.

    Red: it lost its place. Point it at an area you’ve already scanned.

    Step 6

    Scan with one button

    Choose the upper jaw, the lower jaw or a scan body, press the button and hold the tip 5 to 15 mm from the teeth. Scan the upper jaw, the lower jaw, then the bite. Press the button again to stop.

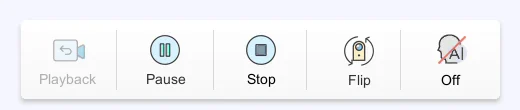
  3. AI onThe scanning bar with the AI button showing On.
    AI offThe scanning bar during a scan, with the AI button showing Off.

    Step 7

    AI on or off

    The switch is on the scanning bar. Turn AI on to keep only the teeth and part of the gum; turn it off to keep everything you scan.

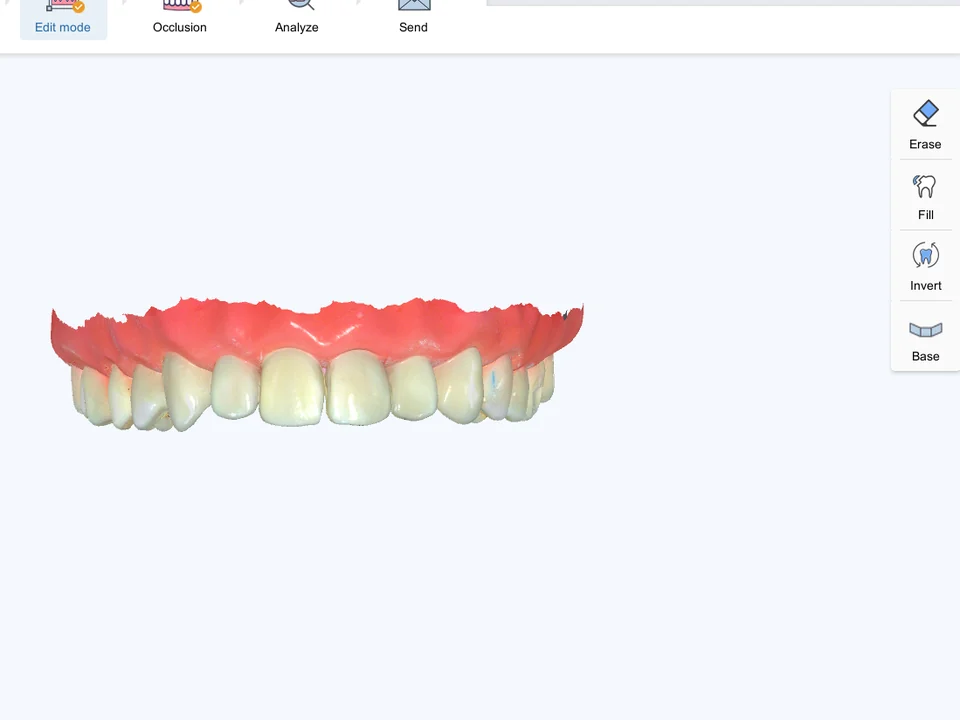
  4. An upper jaw in edit mode, with the Erase, Fill, Invert and Base tools on the right.

    Step 8

    Edit the model

    Erase what you don’t need, fill holes automatically, invert a model, and add a base for printing.

Check and send

Before the case goes to your lab.

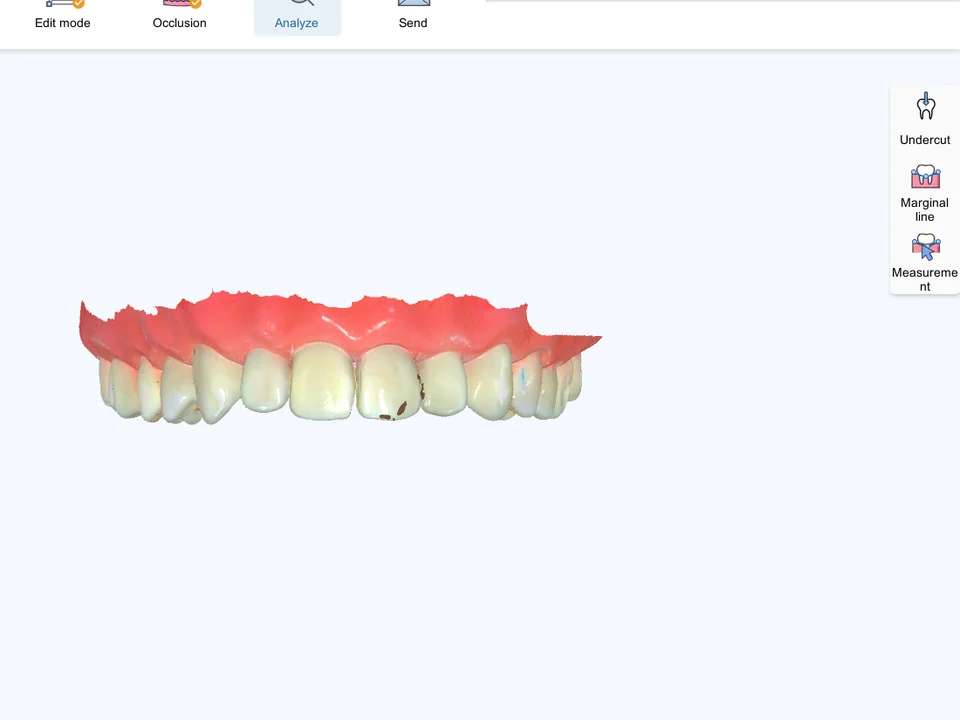
  1. A model on the Analyze page, with the Undercut, Margin line and Measurement tools.

    Step 9

    Check before you send

    Check the bite and the space between the arches, undercuts and margin lines, measure on the model, and preview orthodontic treatment. The patient report fills itself in for you to edit.

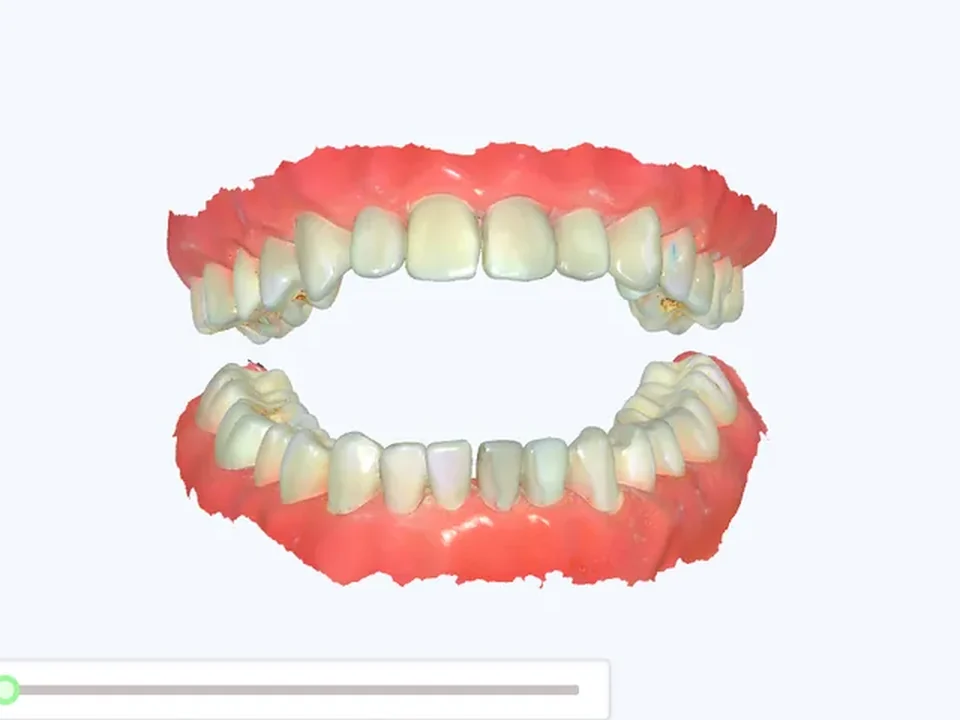
  2. A finished scan of both arches, ready to send.

    Step 10

    Send to your lab

    Pick your lab and send the order by email or through the cloud. Or export it: a ZIP with the PDF order form and STL or PLY files. If a case is too big for your lab’s mailbox, export it and send it another way.

Care and help

Between patients, and when something is off.

  1. The iSuni 2500-WD handpiece from the side.

    Step 11

    Clean it

    Only the tips go in the autoclave, up to 100 times.

    • Rinse the tip’s mirror under cold water, dry it, then wipe it with 75% alcohol.
    • Cover the window with a non-woven sponge and seal the tip in a pouch: 134 °C for 5 minutes, then 8 minutes to dry.
    • Wipe the handpiece with damp gauze, then dry gauze. Never soak it or autoclave it.
  2. Step 12

    If something’s wrong

    Most problems have a quick fix.

    • The border stays red: point the scanner at an area you’ve already scanned.
    • The scanner isn’t found: plug its cable into a USB-C port, then restart the scanning software.
    • An order won’t send: check the internet connection and the lab’s email, or export the case.
    • It’s a Class 1 laser: don’t look into the scan window.
    Book an iSuni technician

The full instructions

This guide is a short version. The scanner’s instructions for use come in the box and are the official instructions: read them before you scan a patient.

Your quote

Nothing in your quote yet. Add a sensor size, a scanner or the C8 camera, then request one quote for everything.

Subtotal

List prices in Canadian dollars, before tax. iSuni confirms your price in the quote.

Request this quote

Chat with us (opens in a new tab)