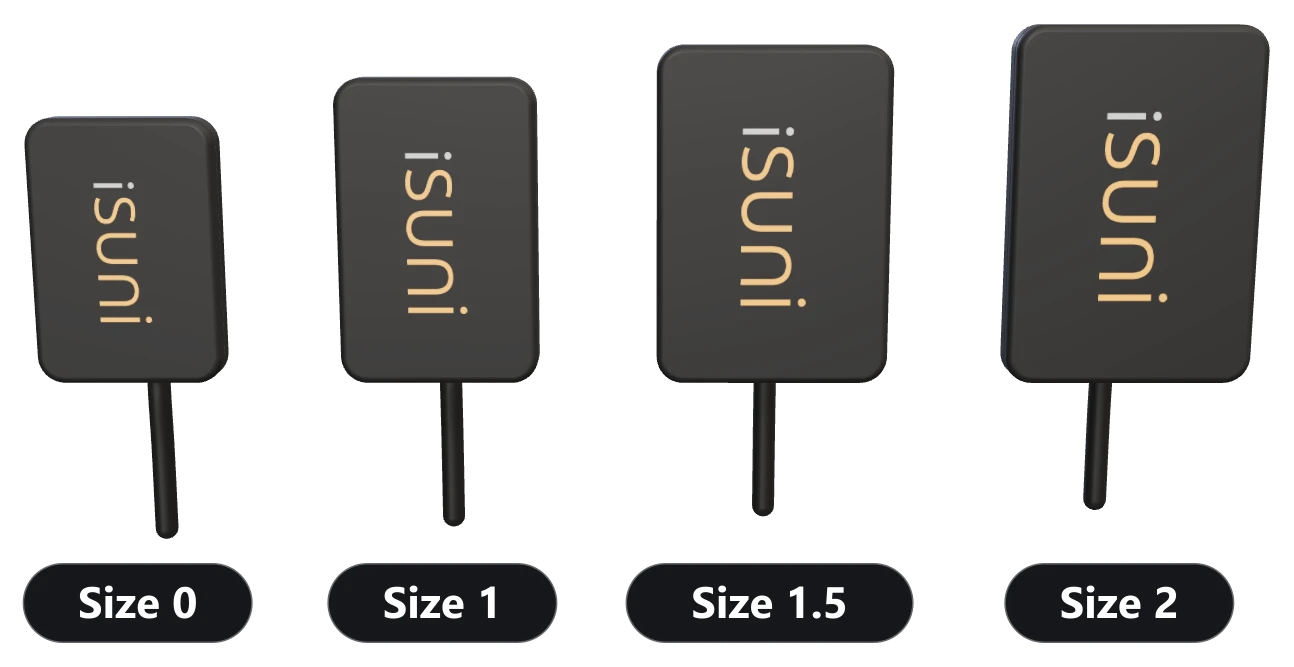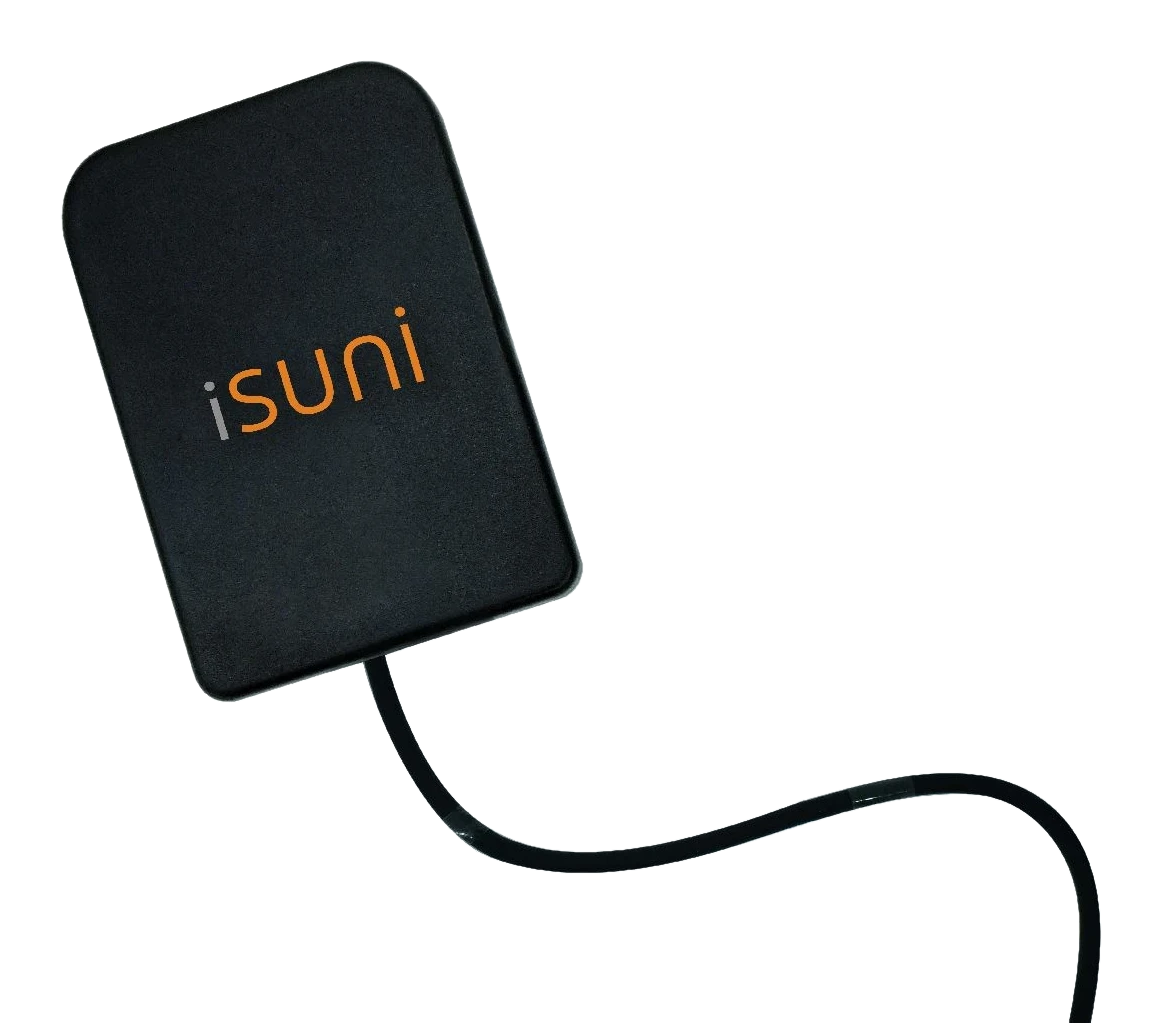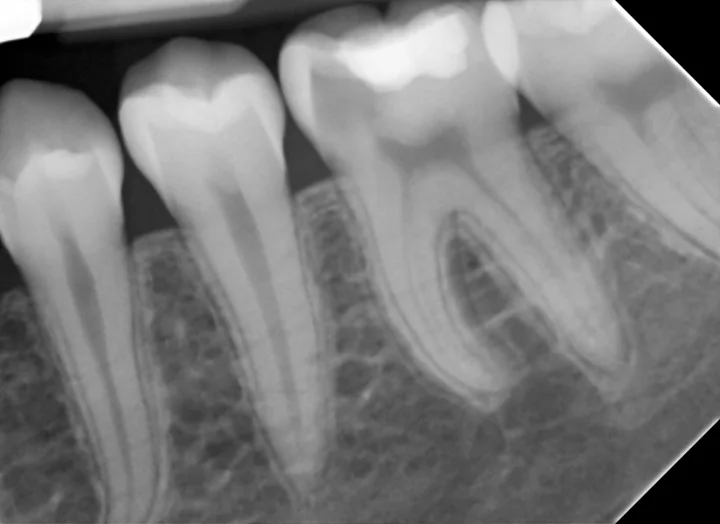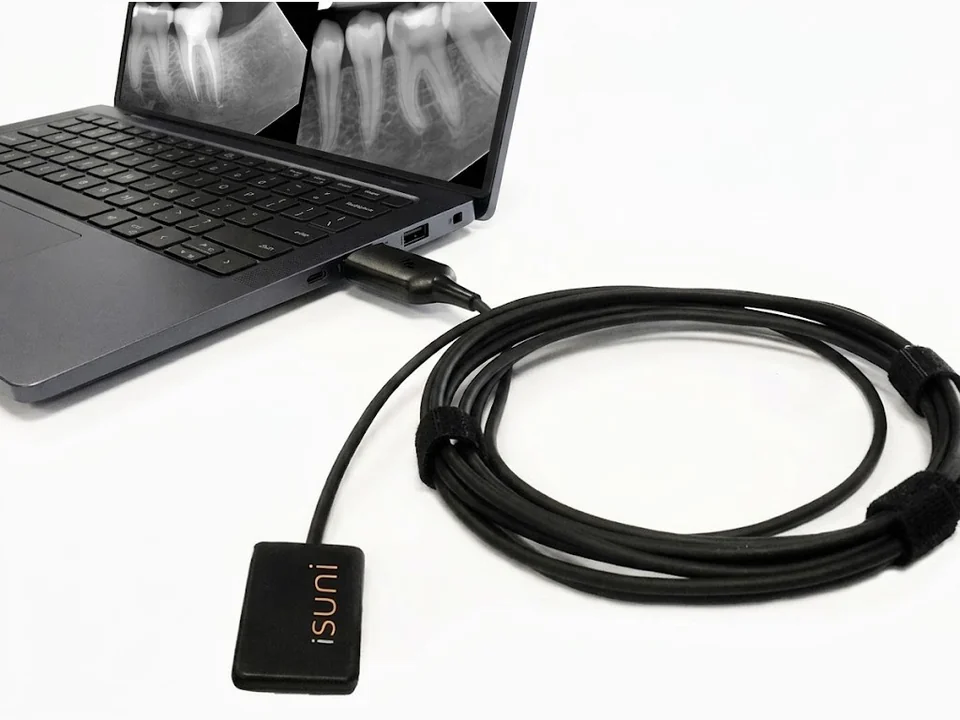
In short: Read the message in the iSuni capture window first: each one has its own fix. Then test the sensor without an X-ray. If the cable is damaged, the plug got wet, or lines stay after calibration, stop relying on that sensor and contact support before you send anything back.
Start with what the capture window says
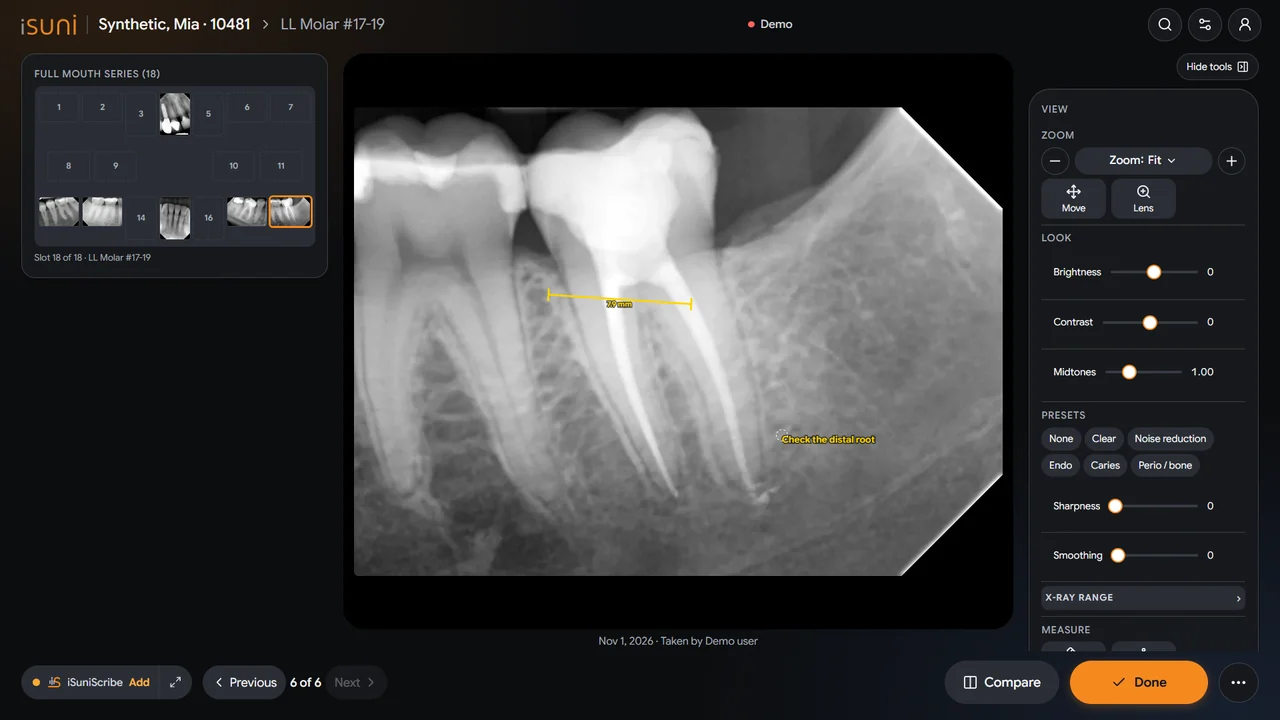
The iSuni capture window opens over your imaging program and always says what it is waiting for. Choose the message you see:
Plug in the sensor
Check that the USB plug is pushed fully into the computer, then press Find sensors: the window reads the USB ports again. Try another USB port on the same computer.
Another program is using the sensor
Usually another sensor’s software on the same computer. With the DentiMax / CurveHero choice in the driver’s Admin settings, the sensor is released by itself; otherwise close that program and try again.
USB driver problem
Open Settings > Sensor and choose Repair beside USB driver. It reinstalls the sensor’s USB driver, with no administrator prompt.
CALIBRATION NEEDED
X-rays can still be taken, but they are not diagnostic. In Settings > Sensor, install the sensor’s own calibration from this computer or from the sensor’s USB drive, or contact support.
Starting the sensor service…
Wait a few seconds: the window starts the sensor service by itself.
Not used here
A sensor with no calibration on this computer, which may belong to another program. Choose it on its tile only if it is your clinic’s.
Test the sensor without an X-ray
From driver 6.0.11, Test sensor (in Settings > Sensor, or Test iSuni sensor in the Start menu) checks the sensor in one press, without an exposure and without saving anything to a patient:
- It is on the USB bus and Windows’ USB driver works
- It is connected, or which program holds it
- It is authorized by iSuni
- Its calibration is loaded
- It returns a test image, with no X-ray
- Works
- Works, with something to look at
- Did not pass
- Could not be tested
The window gives one verdict and the one next step. Lines that stand out from their neighbours in the test image are flagged. If Test sensor is not in your Settings, your clinic’s approved driver is older: ask support.
Lines, stripes or patches in the image
- Look at the capture window first. CALIBRATION NEEDED means the image is not corrected for that sensor: install its calibration.
- Run Test sensor: it flags lines that stand out from their neighbours.
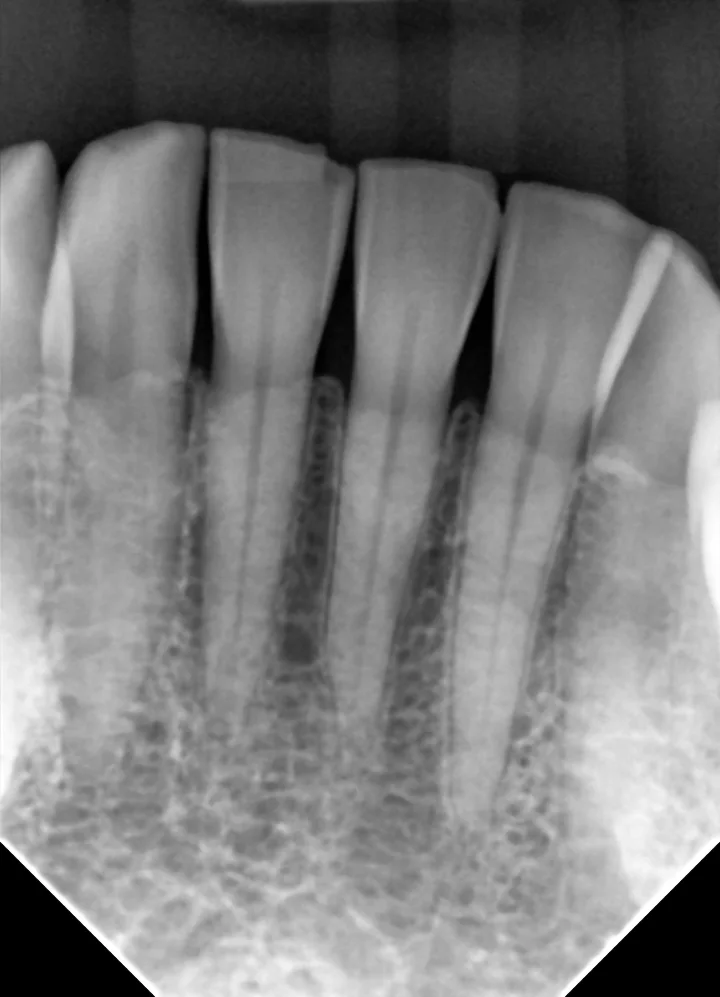
- Lines or noise that were not there before, and stay with the calibration in place, mean the sensor needs attention. Contact support and do not rely on that sensor for diagnosis until it has been checked.
It works, then drops out
- Run your fingers along the whole cable: kinks, crushed spots and bite marks are the usual cause. Look closely near the sensor head and near the plug.
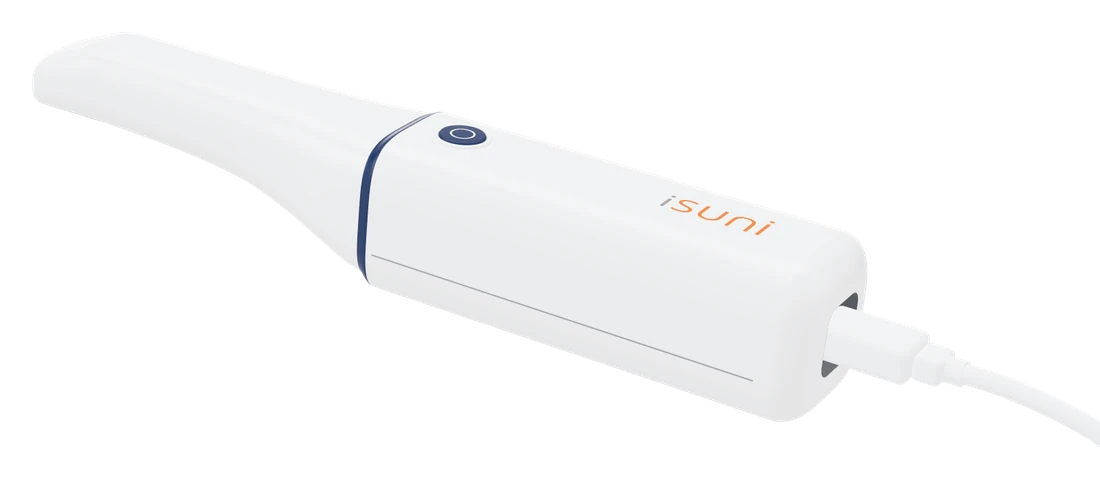
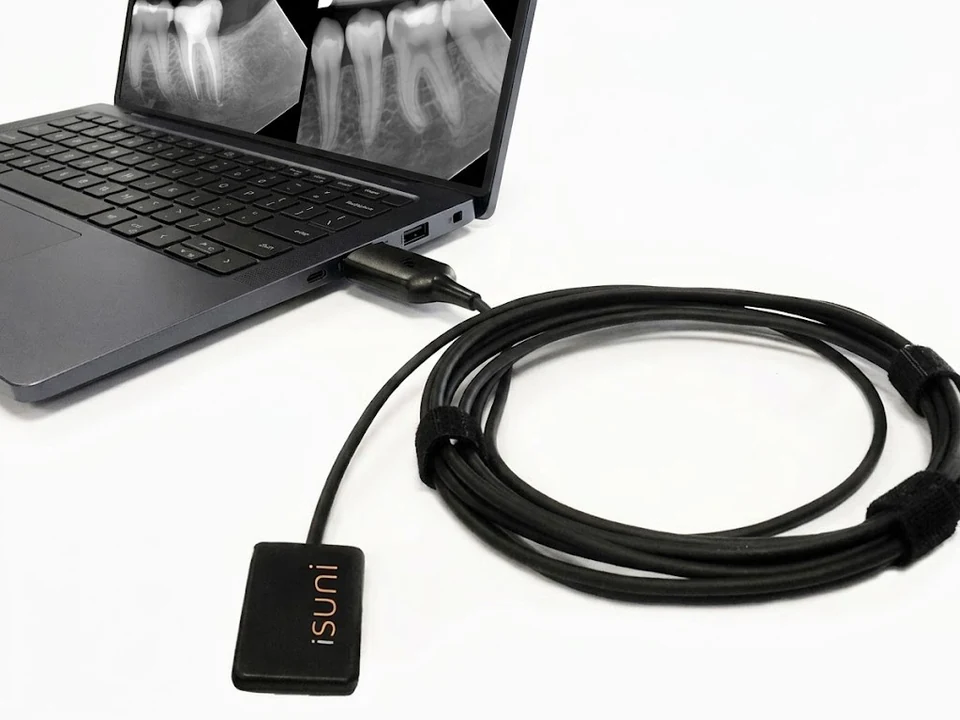
- Plug the sensor straight into a USB port on the computer. Its electronics are in the USB-A plug, so there is no box along the cable to check.
- A “USB device not recognized” message, or USB driver problem in the capture window, is worth a Repair in Settings > Sensor first.
- Windows can switch USB ports off to save power. It is a general cause of USB devices dropping out after the computer sits idle, not something specific to sensors; your iSuni technician can check those settings with you.
Cable damage: repair, replace or warranty?
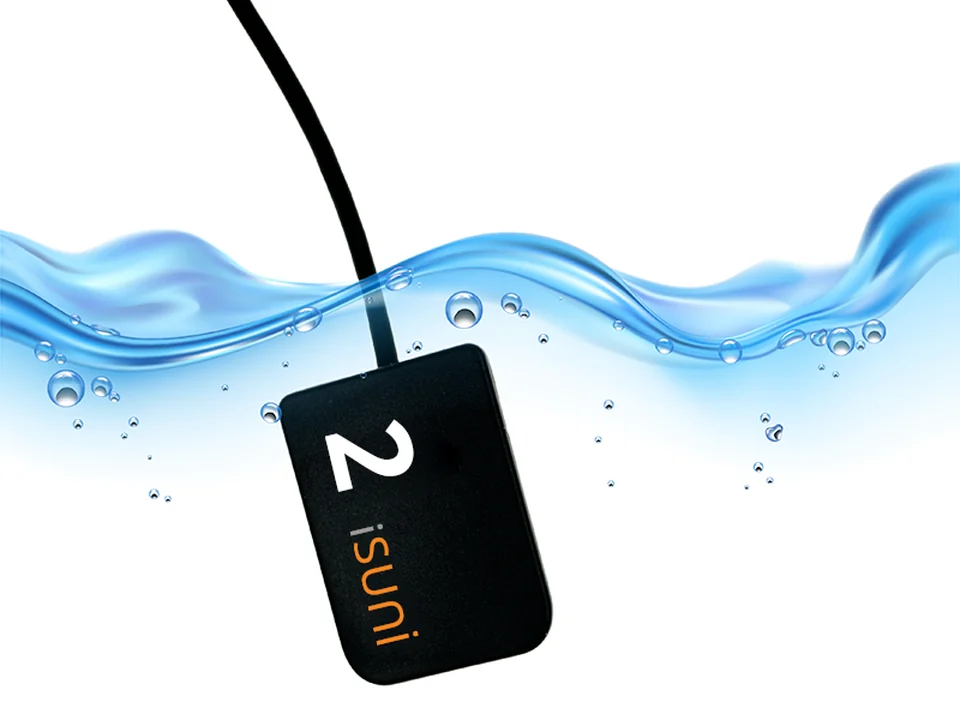
The iSuni cable is 3 m long, reinforced and pull-tested to 100 N. The sensor head and cable are sealed to IP67; the USB plug is not, so liquid must never reach it.
- Stop using a sensor whose cable is cut or whose plug got wet, and contact support.
- The 24-month warranty covers defects in materials or workmanship under normal use. Misuse, accidents and liquid damage to the USB plug are not covered.
- Contact us before you return anything, with your proof of purchase, the model, the sensor’s serial number and what happened. Under warranty, iSuni assesses the sensor and may repair or replace it.
The warranty · Returns and service · Sensor care
Habits that protect the cable
Hold the plug, not the cable, when you unplug; never bend the cable sharply; keep it off the floor where chairs roll; and keep the plug dry. The full routine is on the sensor care page, and the guide to how long sensors last has the rest. How long do dental X-ray sensors last?
Still stuck? Book a time with a technician in the customer portal: at that time the technician sees the same capture window you do. Book a technician.