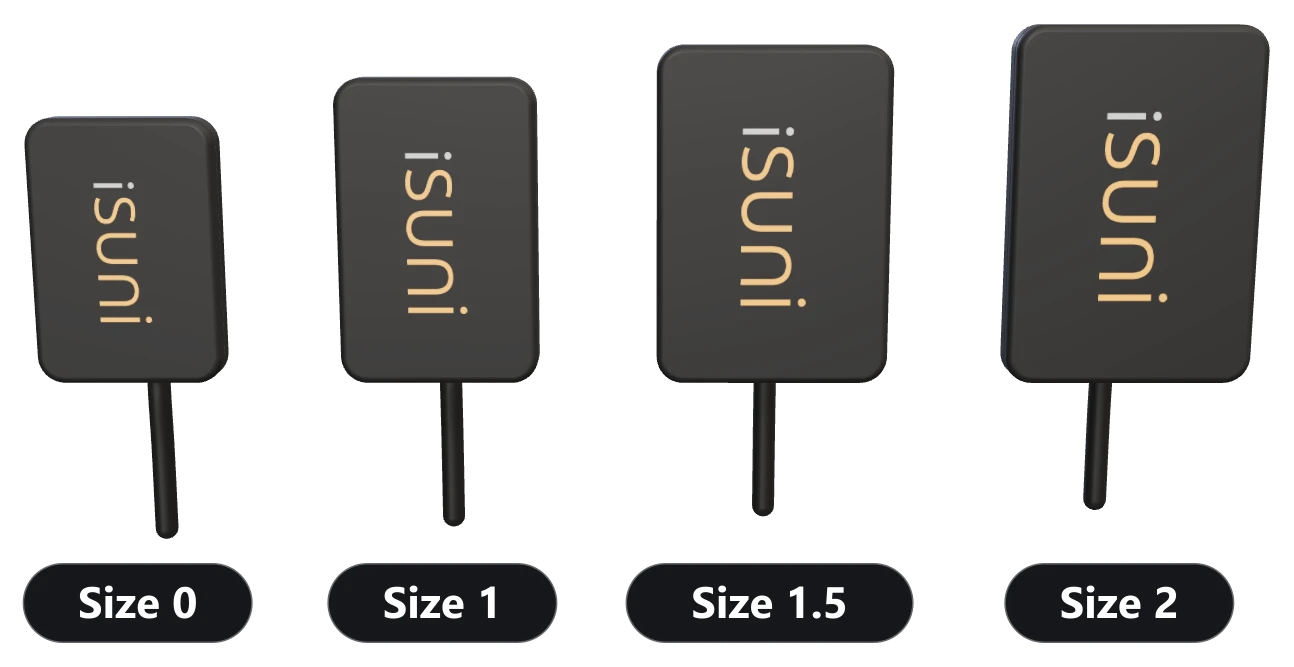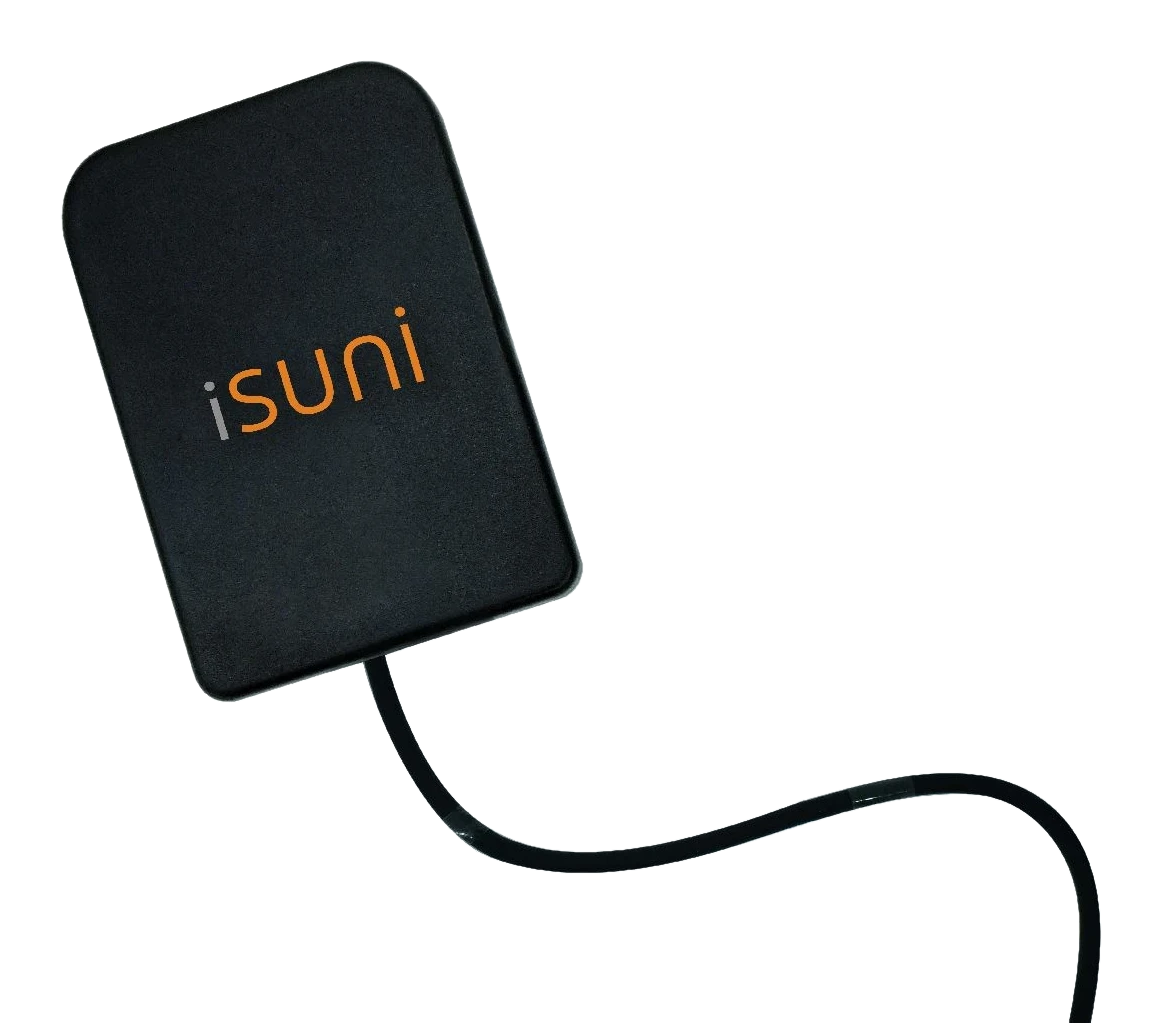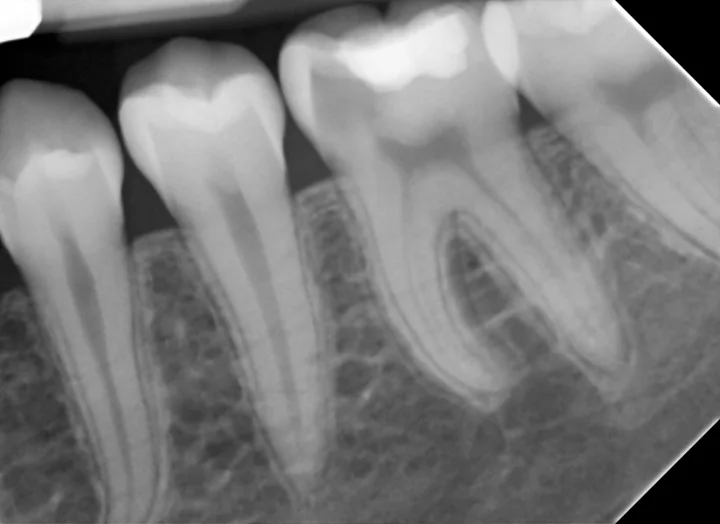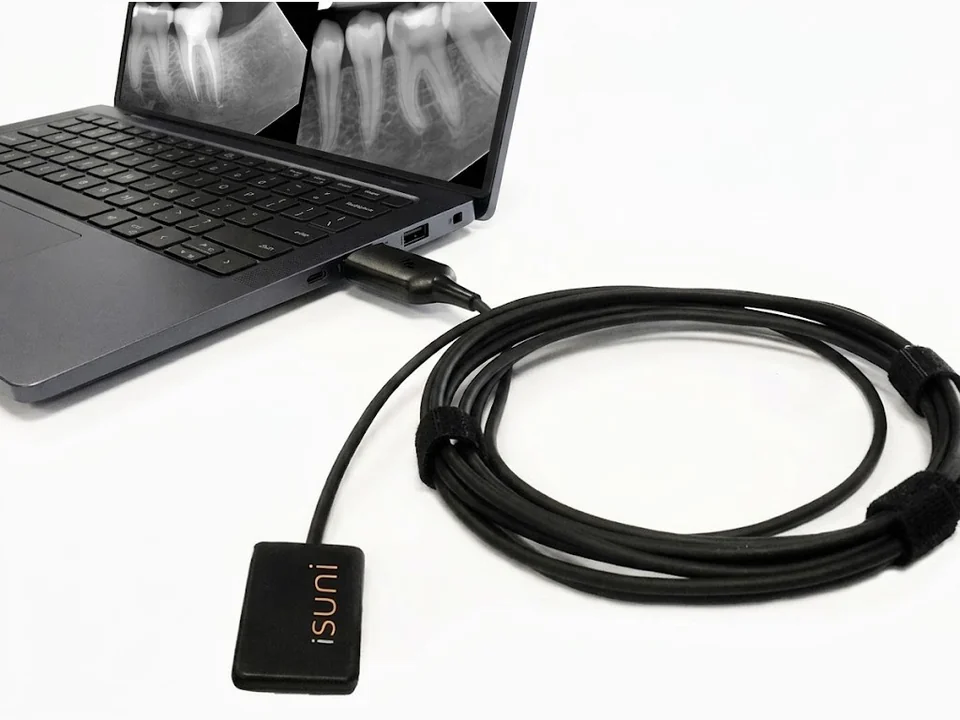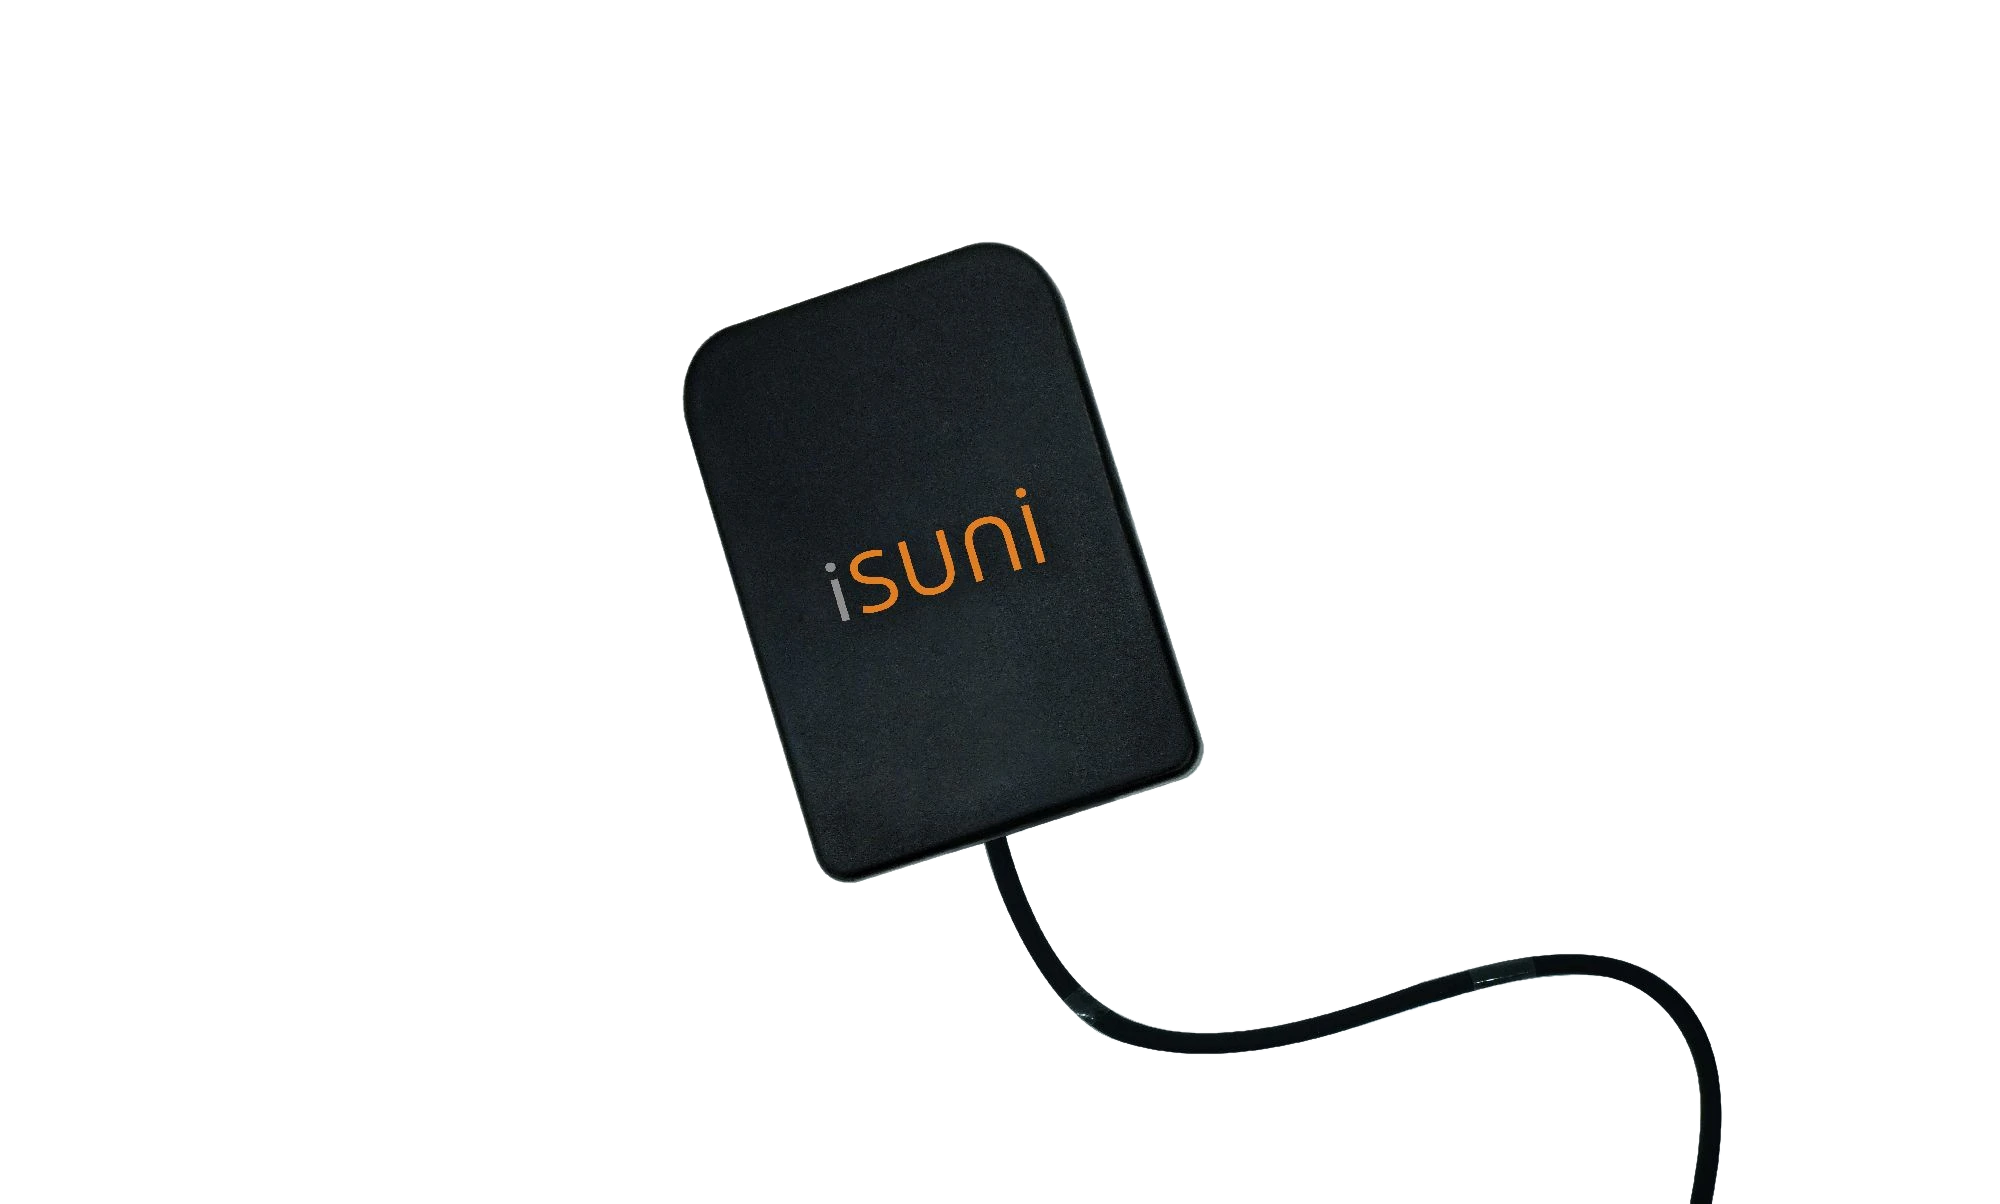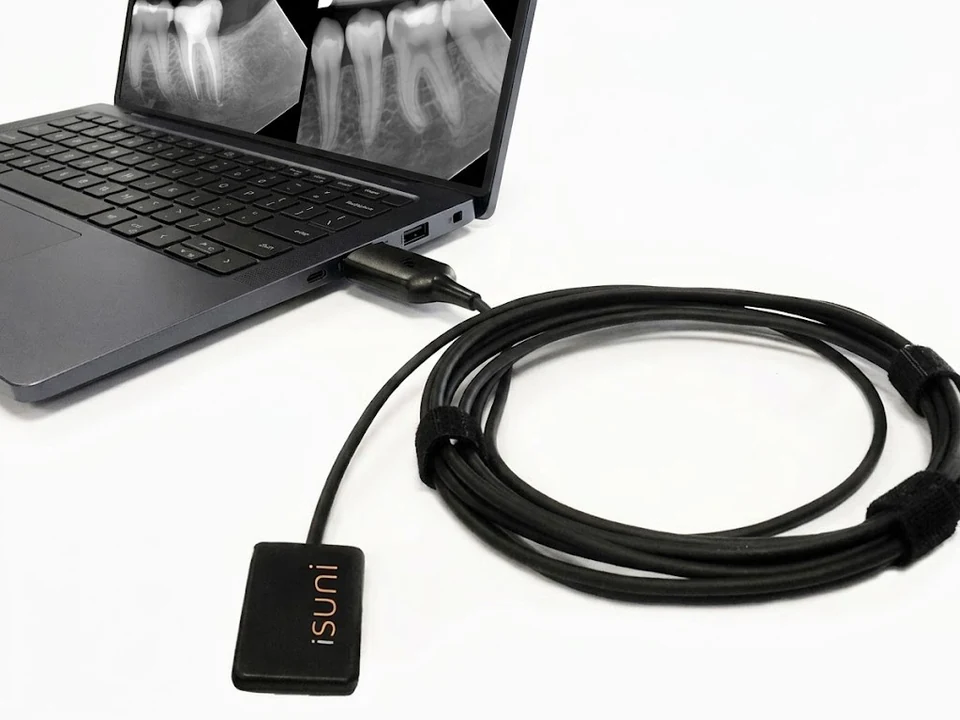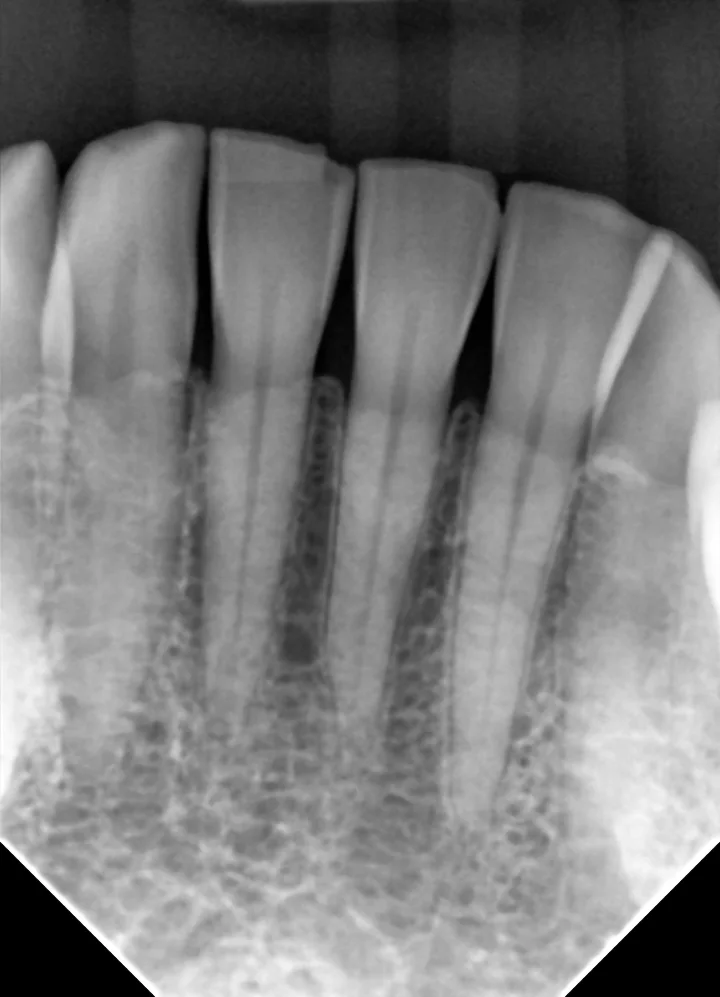
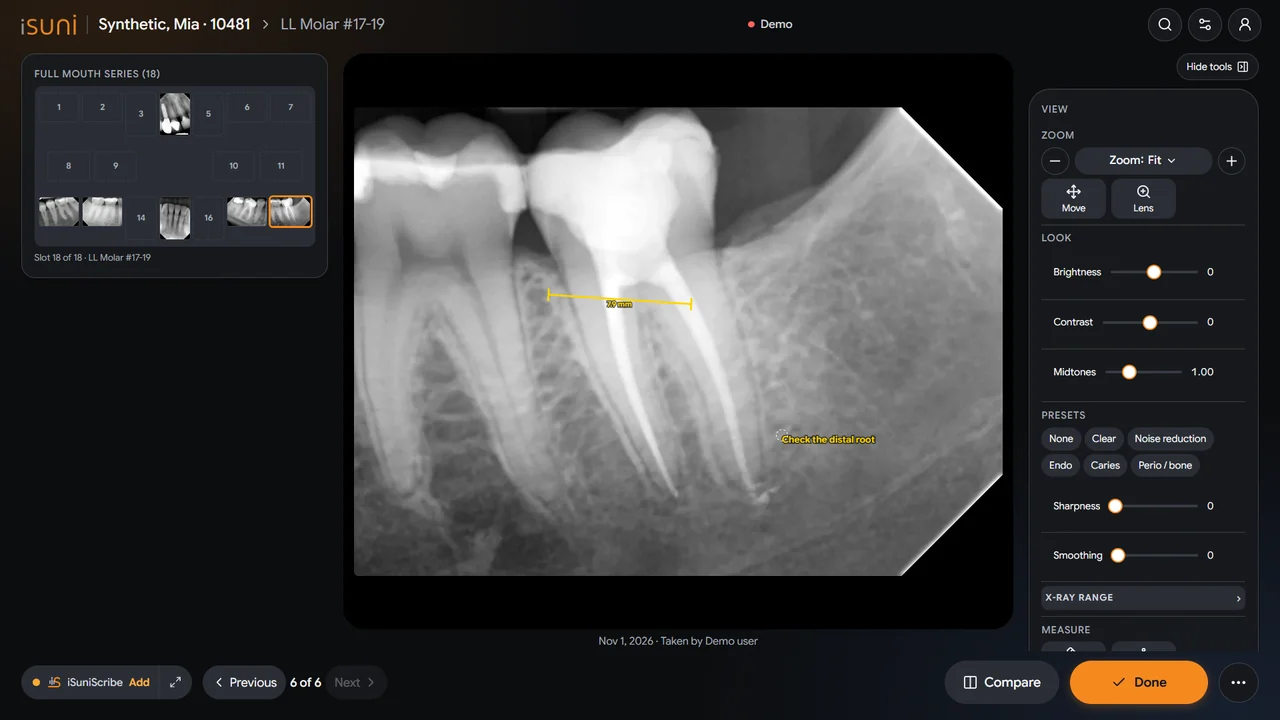
In short: you can set it up yourself, or use the free remote installation session that comes with each qualifying purchase: a trained iSuni technician connects remotely, installs the iSuni TWAIN driver, selects the iSuni sensor as the acquisition source in Dentrix’s imaging module and takes the first image with your team, so the sensor works right away.
Before the session
- Choose the computers. List the operatory computers that will take X-rays (the free installation session covers up to six). They need Windows and a free USB port.
- Note your Dentrix version. It helps the technician confirm the right settings before connecting.
- Have the sensor at hand, still in its box, at the first computer.
- Plan 15 minutes with a team member who takes X-rays, so they see the first exposure.
During the session
- Remote connection. The technician connects to the first computer with your permission. You can watch everything and end the session at any time.
- Driver install. The iSuni TWAIN driver is installed with your sensor’s own calibration.
- Plug in the sensor. It appears as “iSuni Intraoral Sensor”.
- Select the source in Dentrix. In Dentrix’s imaging module, the technician sets the iSuni sensor as the acquisition device for your intraoral templates.
- First exposure. Your team takes a test image together with the technician, who checks orientation, brightness and the SuniVision™ preset.
- The other computers. The same steps on each operatory computer, so the sensor can move between rooms.
Every day after
- Select the patient in Dentrix, open the imaging module and choose your template; the sensor is ready when it is plugged in.
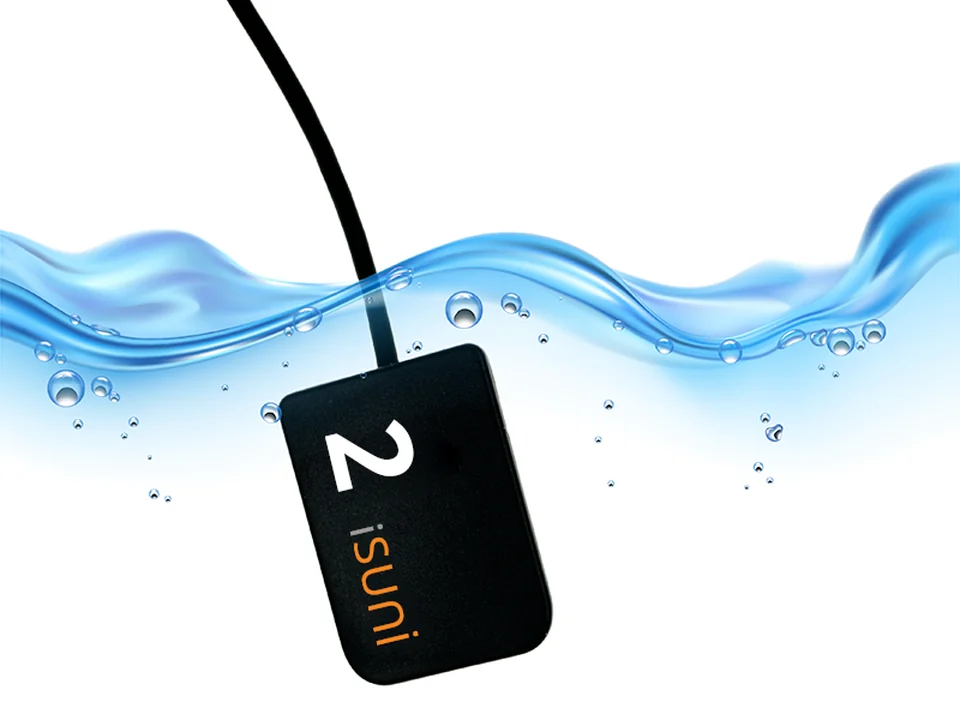
- Use a new barrier sleeve for every patient and wipe the head and cable with 70% isopropyl alcohol. Keep the USB plug dry. See sensor care.
- Need help later? Book a time with a technician from the support page.
Other practice software
The same process works for Eaglesoft, Open Dental, DEXIS, Carestream and any program that acquires from a TWAIN source. See X-ray sensors for Dentrix, Eaglesoft and Open Dental and the compatibility list.